
29. May 2025

After one of our British customers called about spalling on some edges and corners of a few beam elements and asked for specific instructions on how to repair them, we decided to create some guidelines. The finish and visual appearance of Ultra High Performance Concrete (UHPC) often lead to discussions, requiring us to refine our skills in repairing damages and conveying differences in appearance.
Repairs should only be attempted under suitable conditions, i.e., dry weather (or a sheltered location) at temperatures above 5°C, including the element's temperature. It is not possible to carry out repairs if the element is frozen after a cold night, even if the air temperature is above 5°C - it takes time for a large element to adjust to the ambient temperature.
Before performing the repair, it is recommended to conduct a small "mock-up repair" on a concrete slab or similar to get a feel for the repair material's usability before repairing the damaged element - we have done this to illustrate the repair procedure.
Hi-Con provides a special pre-mix for repairs, either grey or light-toned. Follow the guidelines below to repair elements effectively. You can also watch this short instructional video.
Clean the damaged area of loose material, dirt, and dust using a steel brush, compressed air, or similar tools.
Moisten the damaged area with a damp sponge.
Mix the pre-mix with water - a little at a time - and stir thoroughly between each addition of water until the consistency is like soft clay. If the mix is too soft, add more pre-mixed powder to compensate.
Use a spatula to press the repair mixture firmly into the damaged surface to ensure a good bond - and roughly shape the repair material as needed.
Small plates, rulers, angles, etc., can be used to ensure the material is correctly placed and aligned with edges, lines, and surfaces.
Let the repair rest for about 30 minutes until the surface stiffens (depending on temperature - shorter in summer, longer in cold conditions, especially if the substrate is cold).
Use a firm damp sponge to smooth the surface and blend the repair with the surrounding surfaces - avoid getting repair material on the undamaged surfaces, as the color will be somewhat different.
Allow the repair to cure completely - the required time depends greatly on the temperature, but it is usually necessary to wait until the next day.
Use fine sandpaper or a polishing disc, if necessary, to further smooth the surface and blur the transition between the repair and the surrounding element surfaces. Be careful not to damage the surrounding surfaces.
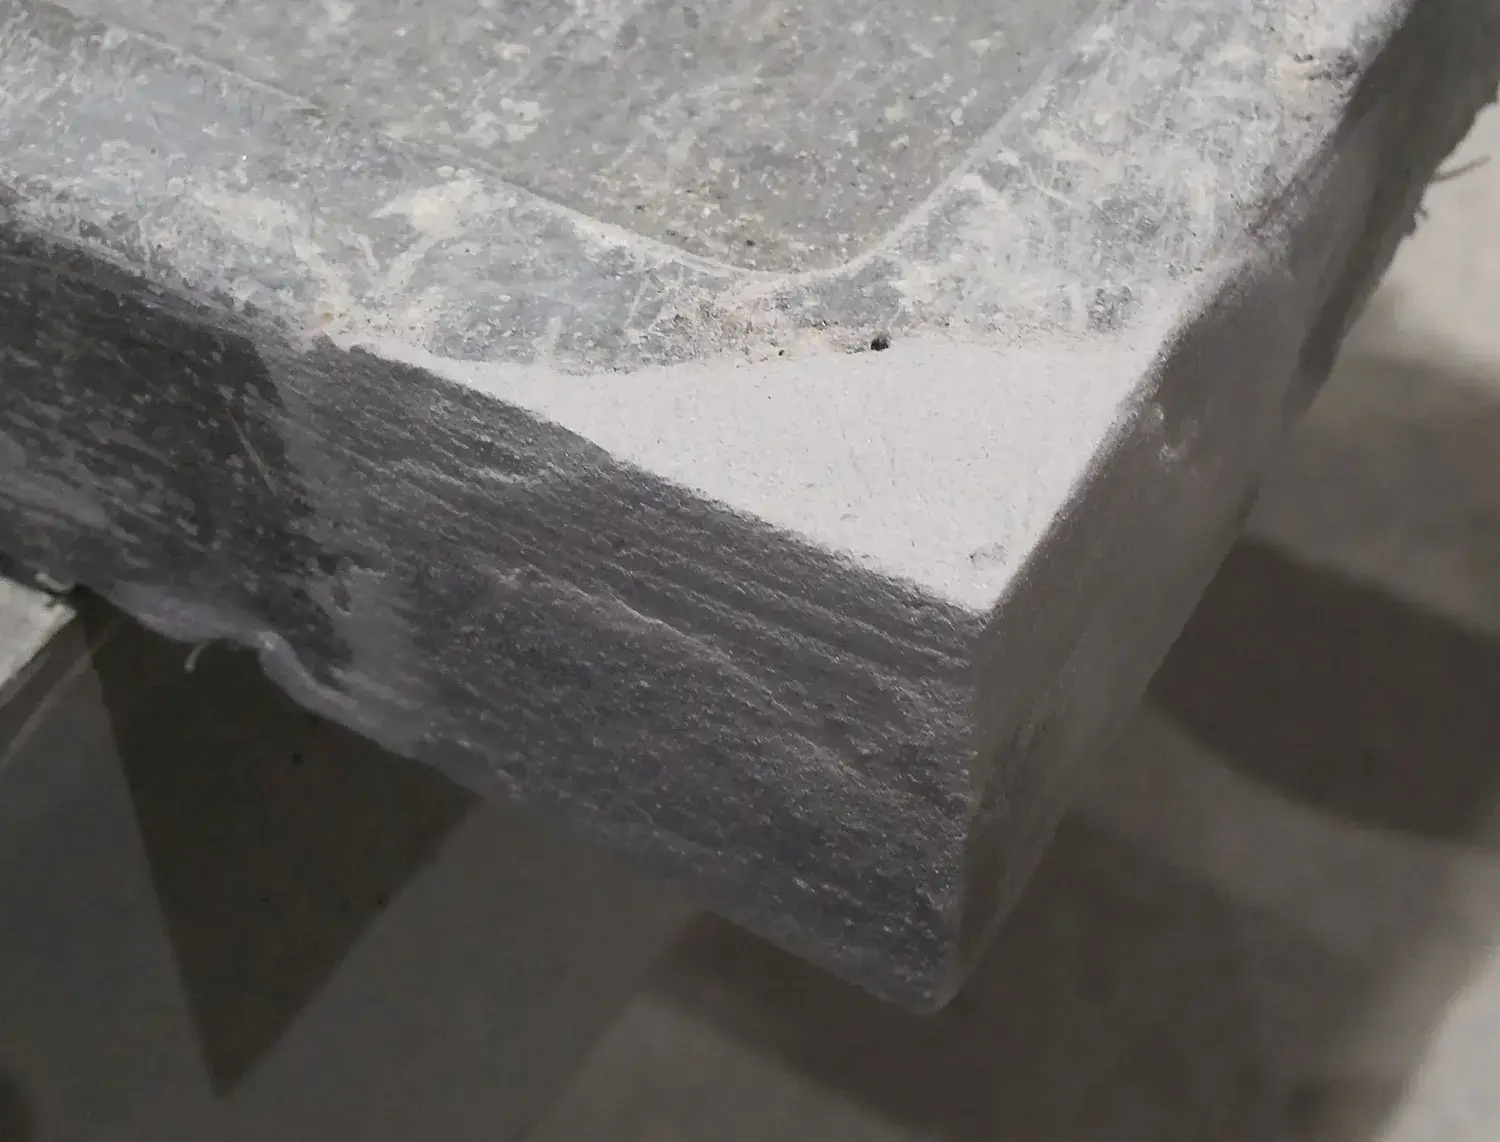
P.S. In some cases, it may be necessary to repeat the procedure, depending on the extent of the damage, to ensure an optimal result. The images below illustrate the individual steps.

Mock-up damages (spalling) after cleaning (top left), the necessary tools for repair (top right), plates, rulers, etc. are helpful during material placement (bottom left) - adding material once is not always enough, and it may be necessary to repeat the procedure (bottom right).
The repaired damaged corner mock-up. Corners require care and patience to achieve a good result. Even if the geometry and structure fit well together, the color will always differ. Therefore, repairs will always be visible to some extent.
Are you experiencing problems or have further questions?
Don't hesitate to contact us!
Interested in learning more about Ultra High Performance Concrete?
FILL OUT THE FORM AND WE'LL GIVE YOU A CALL


