08.06.2020 - Knowledge Center

Users 10-step guide to CRC i2®

Users 10-step guide to CRC i2®

We often get questions concerning what is possible to achieve with CRC i2®, and what process is required to get started – in short the user’s guide to using CRC i2®. In this post, I’ll try to address some of the general issues.

For each individual project, there are scores of specific questions: ‘How thick do you need to make a plate spanning so and so far’, ‘how many supports are needed’, ‘what are the reactions on this bracket’, ‘how do we transport this element into the building’, etc. … 

The specific questions will by nature vary from project to project and I cannot answer them generally, so instead, we will show answers to some typical specific questions through application examples in a later post.

For now, my hope is that this general 10-step guideline will make it easier for you to start working with CRC i2®. Here goes:


1. Think BIG – Don’t be scared to dream of the impossible – it is actually more often the building, regulations or other factors that limit size and scope of CRC i2® use, not the material itself, so if you start with a grand vision – we´ll get you as close as possible to realising it.


2. Be creative – Don’t be limited by what you are used to expect from conventional concrete – in many cases CRC i2® can do so much more in terms of expression.


3. Start early – Typically the interaction with other structural elements are important to the possibilities and benefits of using CRC i2®, and can only be exploited when addressed early in the sketch phase. As an example, clarification of fixings like these brackets has to happen early in the project process. 


4. Seek out references – seeing examples of different solutions often inspire, and it will also help you to know what to expect aesthetically from CRC i2® structures after some years of use. A good starting point is of course Hi-Cons reference archive


5. Consider the context – what do you need the CRC i2® to contribute with in terms of texture, and expression together with adjacent materials and surfaces – what is the intended aesthetic role of the CRC i2®. An example is this staircase in a recently awarded theater renovation.. 


6. Consider installation early – sequence and restraints from other building processes are often the determining factor when selecting the best solutions for a given project.


7. Don’t wait with the details – I have often been asked late in a project ‘by the way, how do we fit in drainage’ (or some similar detail). In contrast to regular concrete, with CRC i2®, the slim dimensions in some  cases cause these details to determine minimum dimensions, hence the earlier the details are considered, the better.


8. Simplify if possible – The slim dimensions possible with CRC i2® often become more spectacular when free from disturbing edges, grooves etc. It also increases freedom in creative shaping, with a good result in casting.


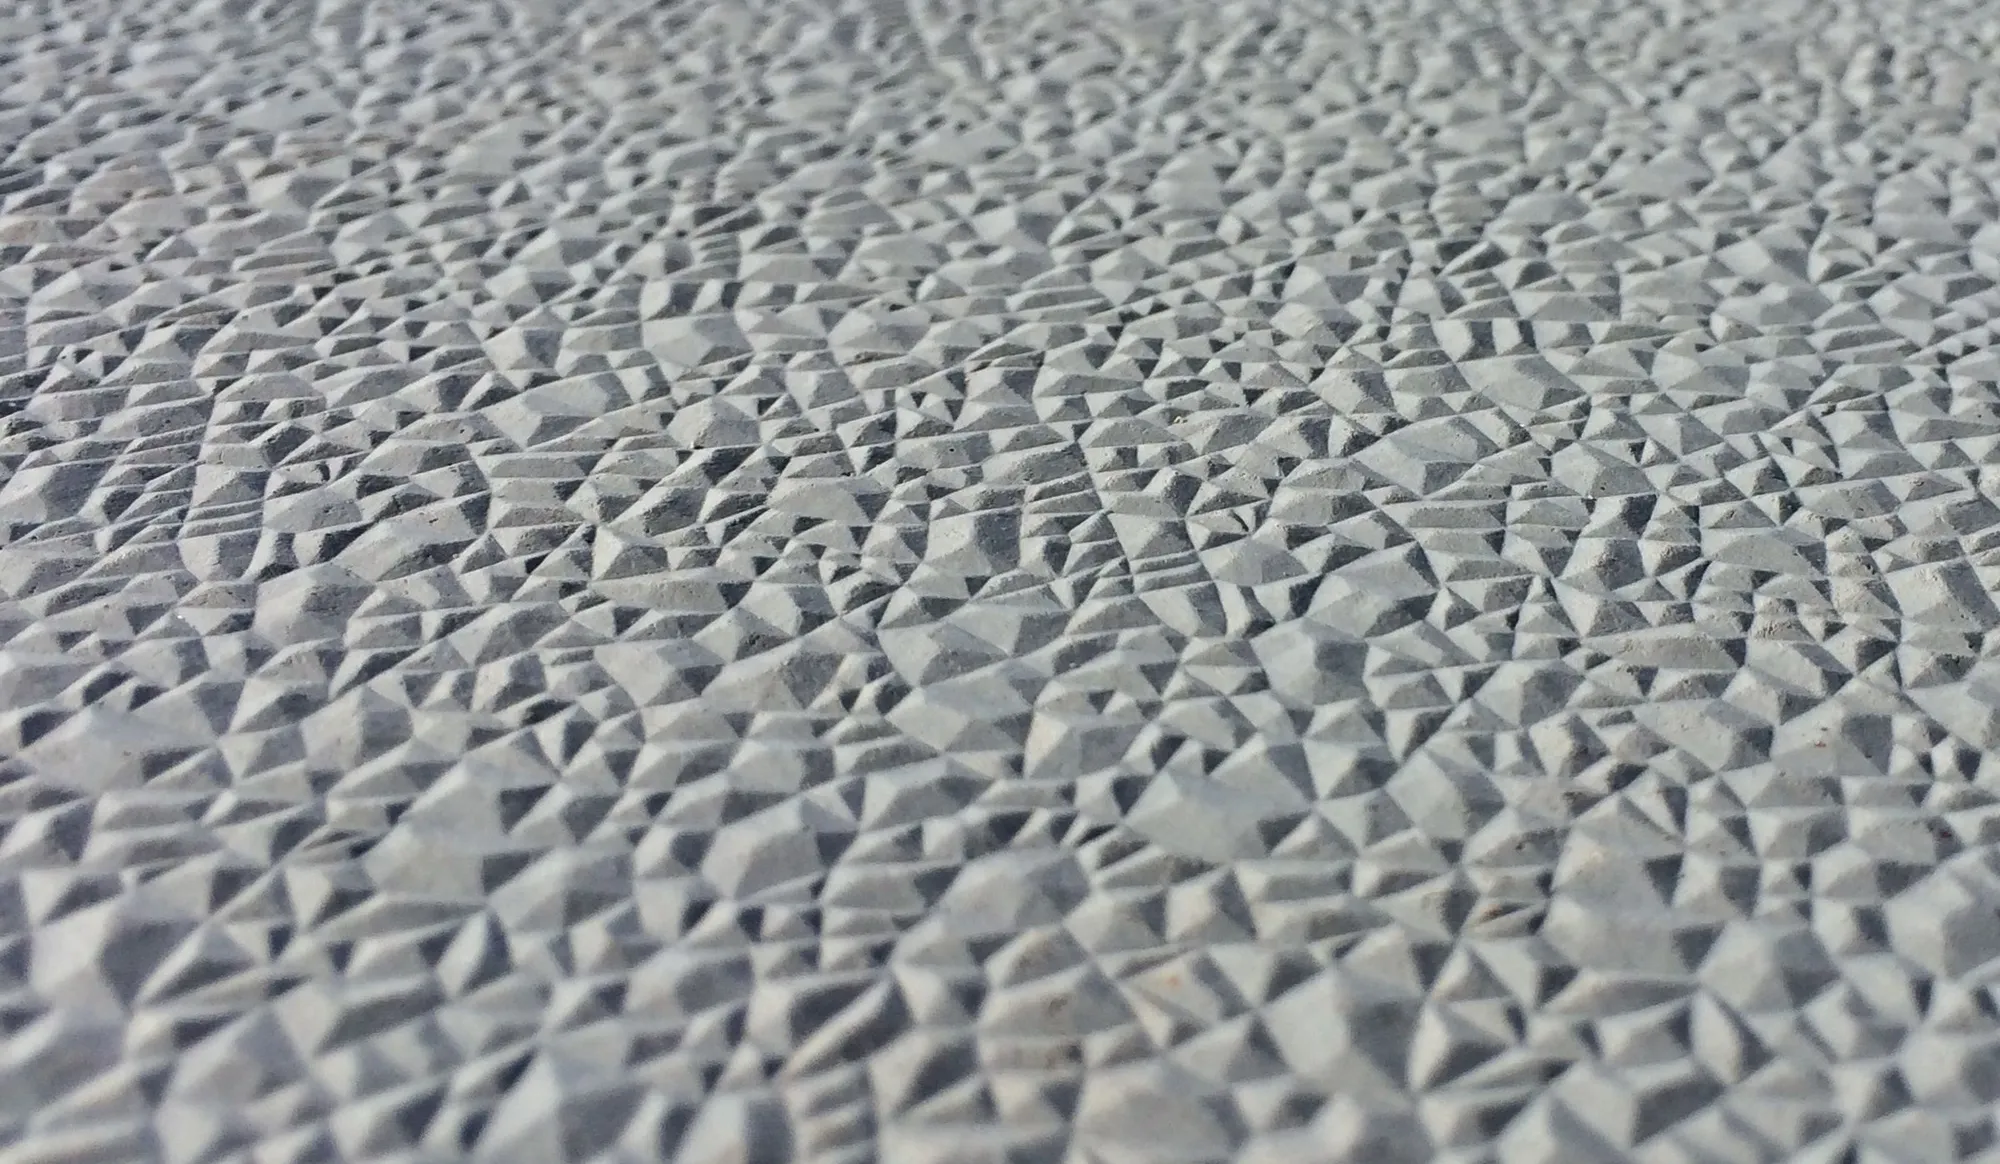
9. Clarify what you expect of surface expression – as described in my previous blog post "Surface aesthetics of CRC i2®", the workability of CRC i2® is different from conventional concrete, and it must therefore be considered which surfaces to focus on aesthetically.


10. Contact Hi-Con as soon as possible – we would love to help realise your dream in High Performance Concrete, and the sooner we get actively involved, the better the chances of reaching the intended expression. We often provide a rough design outline and approximate loads relatively quickly, to determine if a certain solution is feasible, before the more detailed design phase starts.


I hope this 10-step guide will be of help, but if you feel something is missing don’t hesitate to let me know so I can add it to the list.